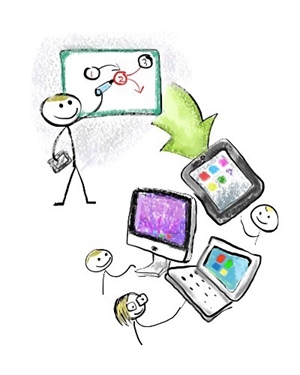
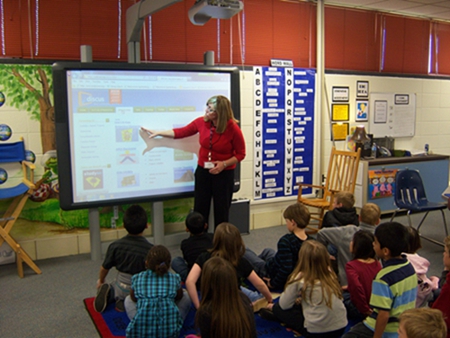
Interactive whiteboards are innovative classroom solutions that foster
engagement and participation during learning sessions. When used with
projectors, PCs, and other devices in the classroom, the interactive whiteboard
can offer the ultimate interactive learning environment. Still, most users get
lost when it comes to fully utilizing the features and benefits of the interactive
whiteboard. The first of this two-article series looks at tips on how users can
get the most out of their interactive whiteboards.
1. Connecting the Interactive Whiteboard and
Peripheral Devices
The interactive whiteboard typically connects with a ceiling-mounted or
desktop data projector that projects content onto the whiteboard screen. If the
projector mounted on the ceiling, it will need an independent electrical supply
to power it up. Other devices that will connect with the interactive whiteboard
such as computers, speakers, Scanners, Printers, and DVD or AMP systems will
need their own power source.
It is also important to have enough USB connection ports on the computer
to cater for all devices that will connect with the interactive whiteboard and
the computer. Also ensure to consider how your device will connect to the
internet, that is, either through Wi-Fi or cable connection.
2. Placing the Projector Correctly
Placement of the data projector will chiefly depend on the type of
projector and the design of the classroom. Short-Throw and Ultra-Short-Throw
Projectors are placed close to the interactive whiteboard screen.
Ultra-Short-Throw projectors are best suited for mounting on the ceiling and
are placed above the interactive whiteboard.
Long-Throw Projectors are typically placed farther from the interactive
whiteboard, resulting in bigger images. With Zoom control, such projectors can
be used to project better images in large classrooms. However, for small classrooms,
Short-Throw Projectors are the best option.
Lastly, projectors can be placed either horizontally or vertically. When
placing them horizontally, ensure you place the projector at a right angle.
Vertically-placed projectors such as ceiling-mounted projectors require a
Keystone Correction feature to display images correctly.
3. Stay away from the Projector’s Light Beam
Always try to avoid obstructing the beam of light coming from the
projector. This creates a shadow that reduces the functionality of the interactive
whiteboard. If you must stand close to the whiteboard screen during lessons,
get a Ultra-Short-Throw or Short-Throw projector that is placed closer to the
screen.
The next article in this series will discuss tips for adjusting brightness,
safety and health issues, positioning the board, and how to customize the interactive
whiteboard for use with laptops and PCs.
Previous:Tips and Best Practices for Using an Interactive Whiteboard: Part Two
Next:Emerging Technologies that Promise to Enhance Usability of the Interactive Whiteboard

